Migrating a WordPress site from one hosting to another can be a challenging task, especially for those who are not familiar with the technical aspects. However, thanks to the Migrate Guru plugin, this process is significantly simplified. Migrate Guru not only offers a fast and efficient solution, but also minimizes the risk of data loss.
Why use Migrate Guru?
- Simplicity: Migrate Guru simplifies the process of migrating from WordPress to another hosting in just a few clicks.
- Fast and Efficient: This plugin performs the migration on BlogVault’s own server, which means it does not load your website, ensuring a fast and efficient transfer.
- Compatibility: Works with a wide range of hosting providers, allowing you to migrate your site regardless of where it is hosted.
- No Risk: Migrate Guru automatically backs up your site before and after the migration, minimizing the risk of data loss.
In this tutorial, I will walk you through the steps to migrate your WordPress site with Migrate Guru to Cloupsy:
1. Create a blank site in Cloupsy:
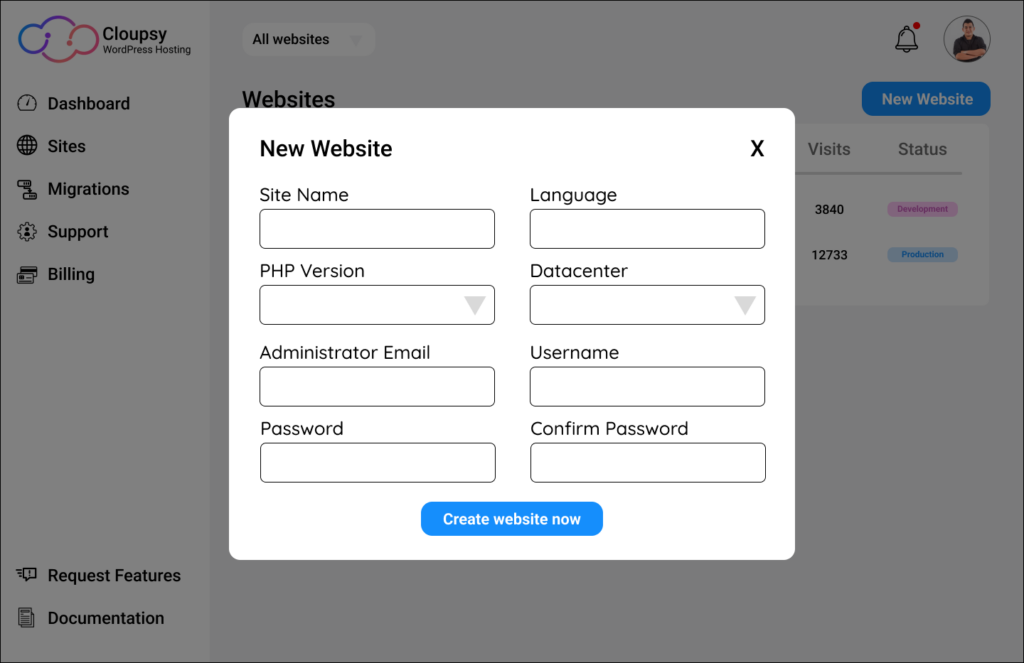
Just log in to your Cloupsy Client Area and click on the “New Site” button, it is not so important to fill in your username and password, as they will be replaced with those of the original site to be migrated.

2. Generates FTP accesses:
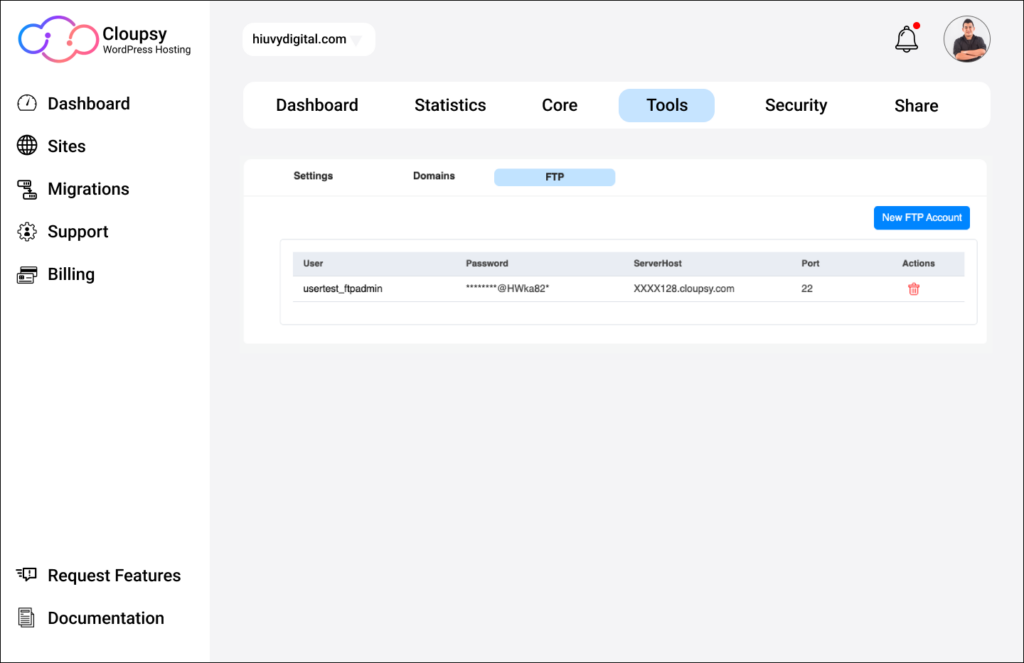
Once you have created the site you must go to the site administrator in Cloupsy, click on the menu Tools -> FTP and there you must generate your FTP accesses, keep them handy because with those we will connect your current site with us.

3. Install the plugin on your site:
Go to the website you want to migrate, go to the Plugins section -> Add new plugin, there in the search box you should put “Migrate Guru”, when it appears click on install and then click on activate.
You could also download it from their official website or the WordPress repository and upload it as a .zip file.

4. Configure the plugin:
Go to the configuration of the plugin you just installed, at first it will ask you for an email to send you notifications of the process, it will take you to a page where you will select the option “Other Hosts” and activate the option “Manually Input Host Details”, this will open the form where you must enter the FTP accesses that you have generated in the previous step, and finally click the “Migrate” button.
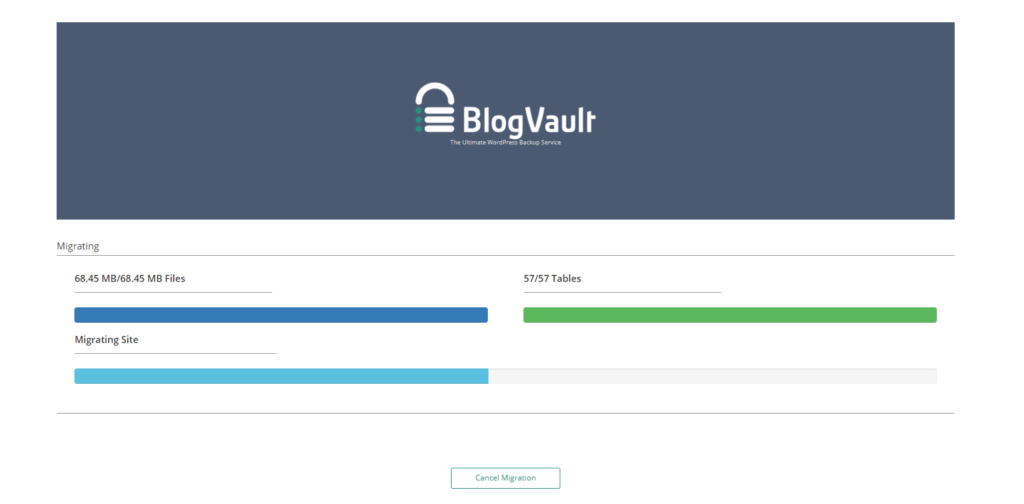
In this step you will see the upload process and how your site moves from your current host to Cloupsy, this may take a few minutes depending on the weight of your website.


5.Check that everything is OK:
Finally, check your website in the new location, make sure everything is ok, sometimes it may be necessary to go to Settings -> Permalinks and save to generate the .htaccess file again.


